_1@2x.png)
Import Entries 2.0 is hands-down the best and most powerful way to import a CSV into Gravity Forms.
Version 2.0 of Import Entries is rewritten from the ground up for reliability and ease of use. Version 2.0 includes a brand-new interface, which we will walk through now.
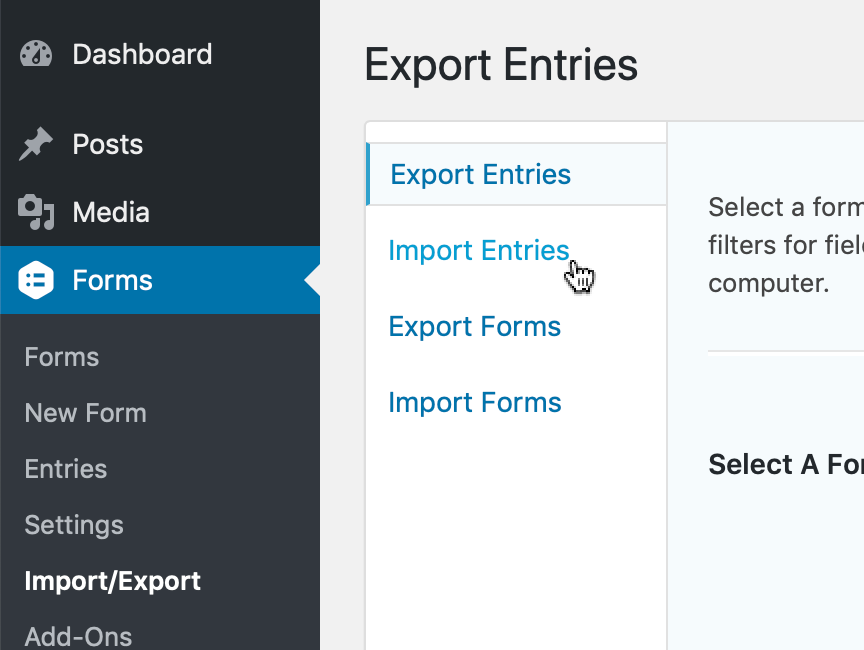
Start by going to the menu called "Import/Export" in Gravity Forms' "Forms" menu

Click Import Entries
Drag a CSV file to the box, or click the box to select a CSV from your computer to upload.

Choose whether to import entries into an existing form, or to create a new form
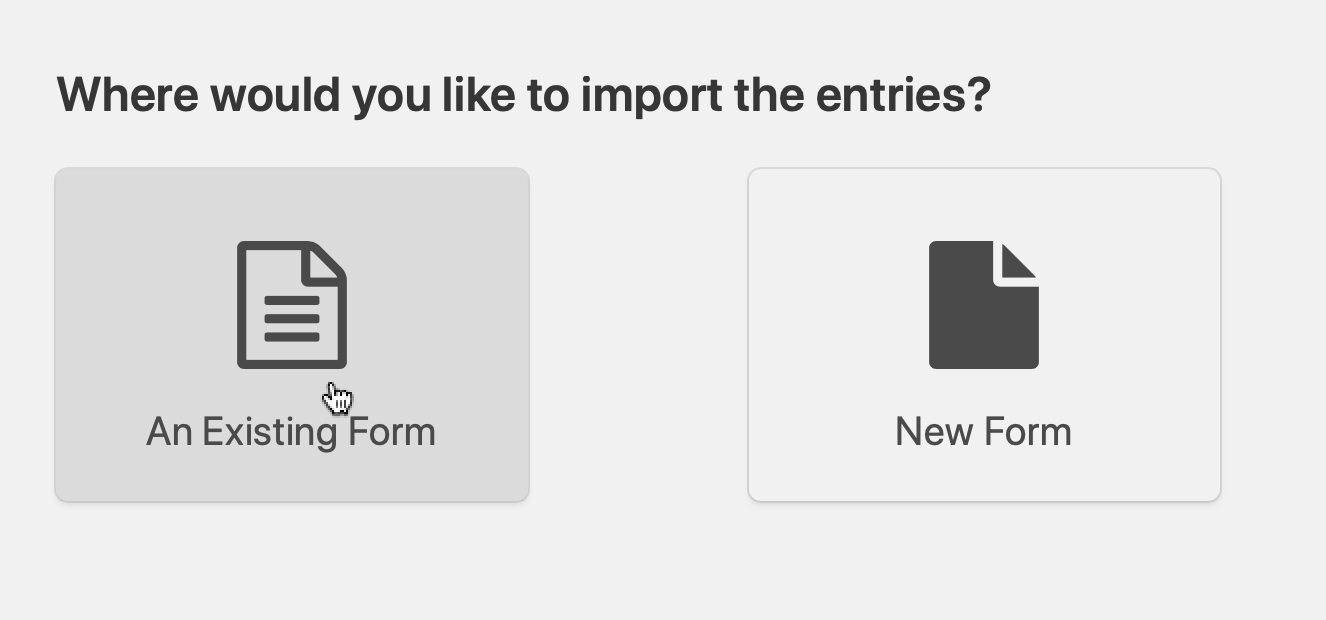
If you create a new form, the columns in the CSV will be turned into form fields in a new form
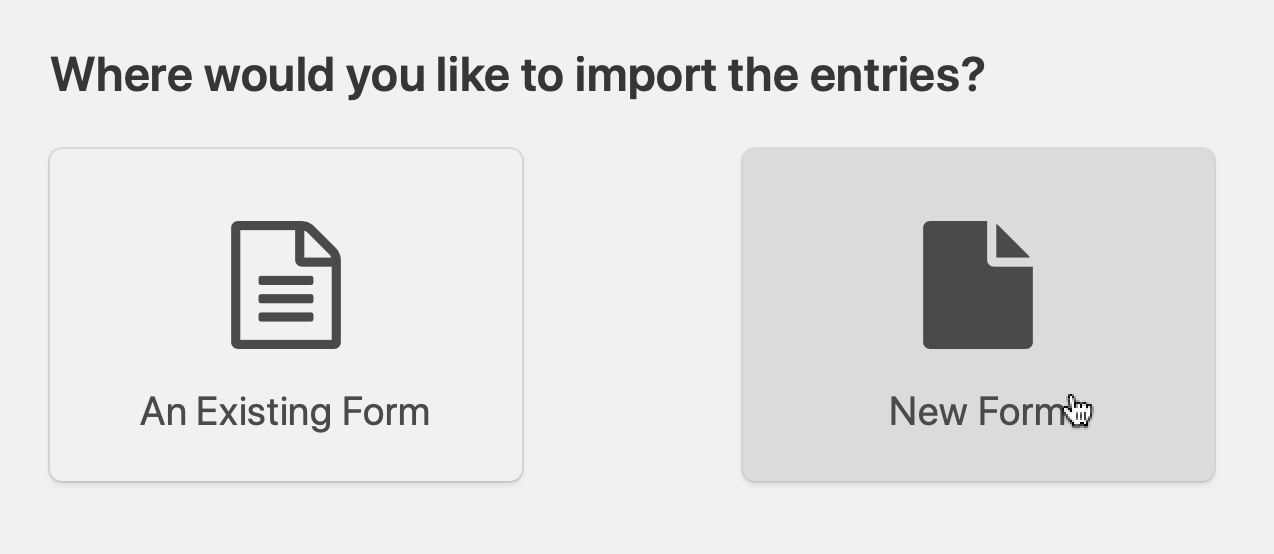
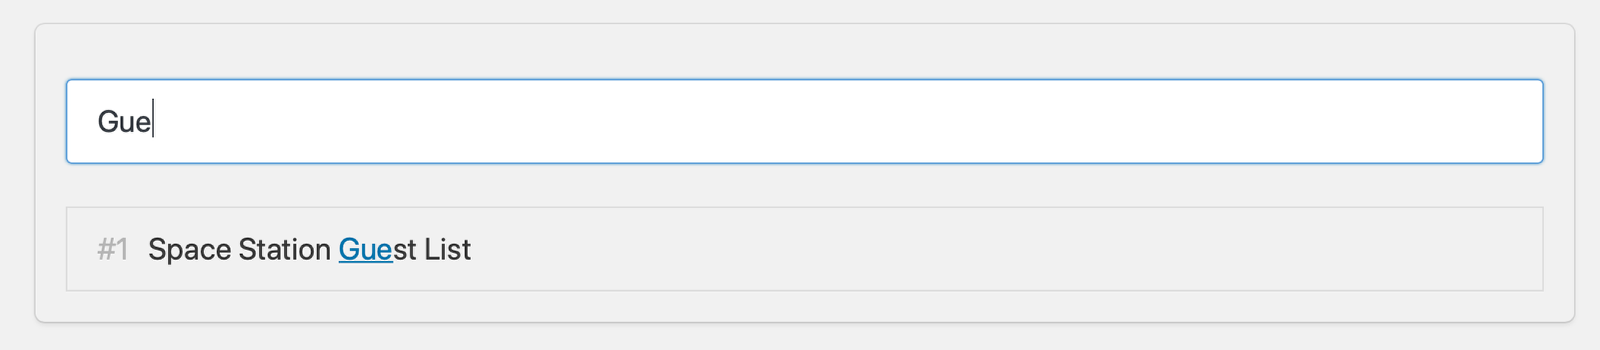
If you choose to import into an existing form, click on the form you want to import into
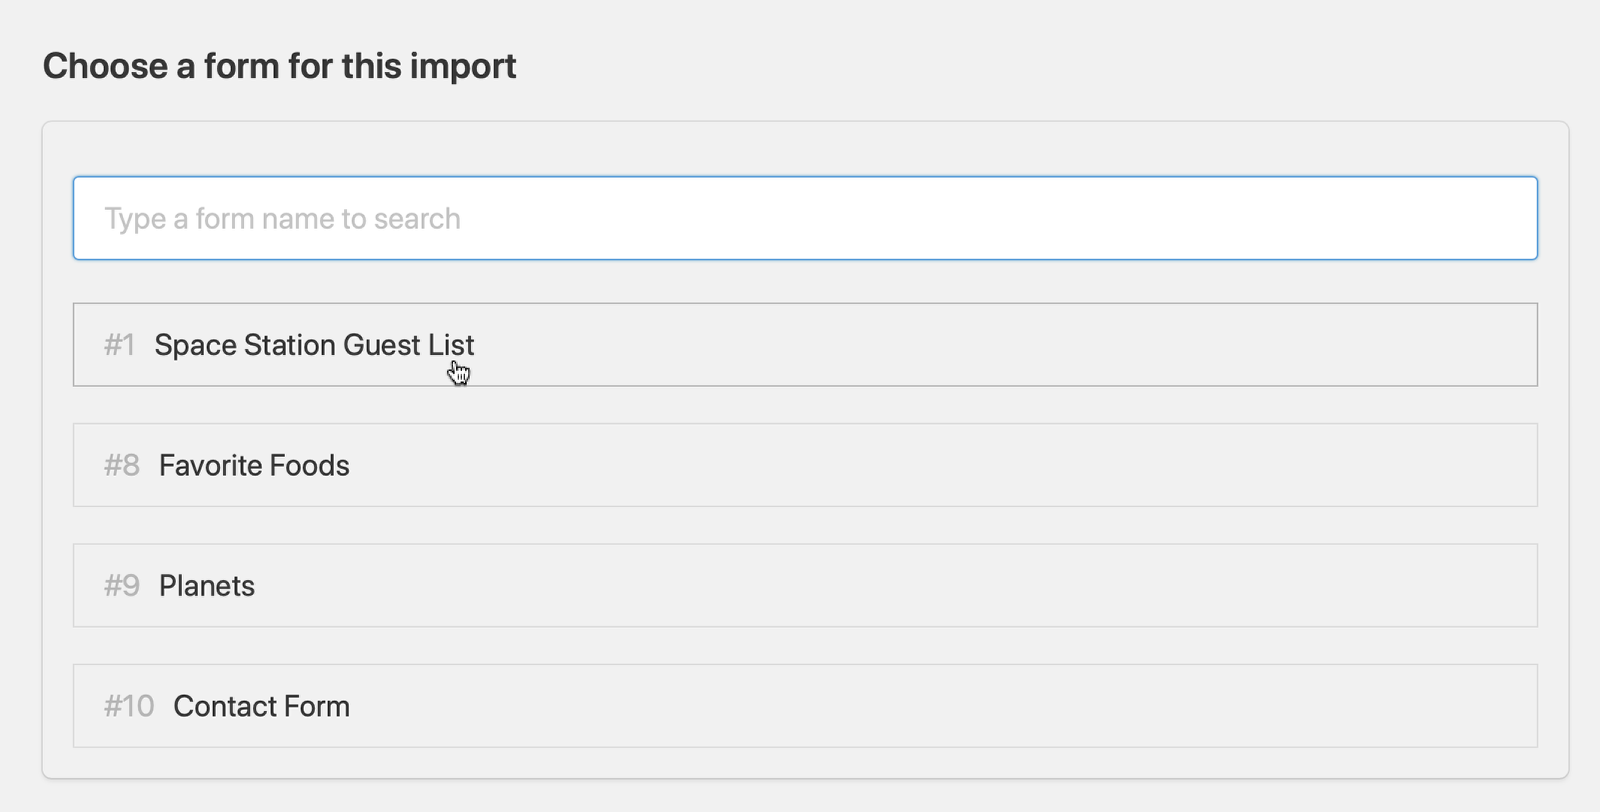
If you have many forms, you can type to search for the form you want to import to
To modify the CSV file or the form being imported into, you can click the links at the top at any time
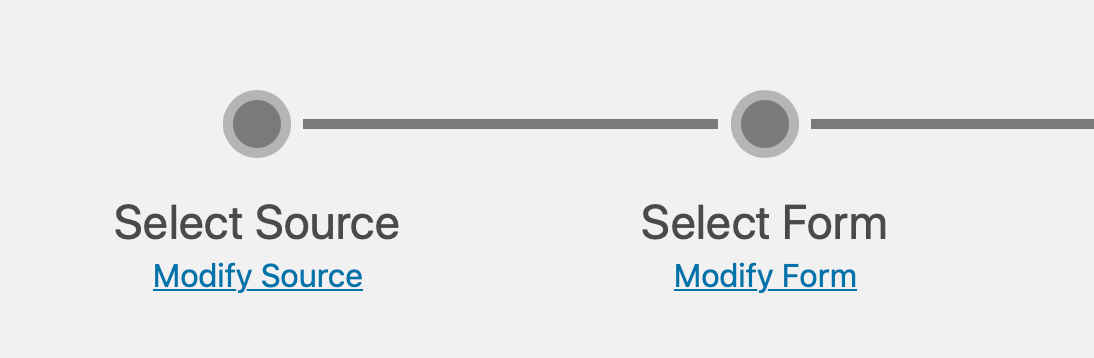
You can also press the back button in your browser.
A preview of the uploaded file will be shown.
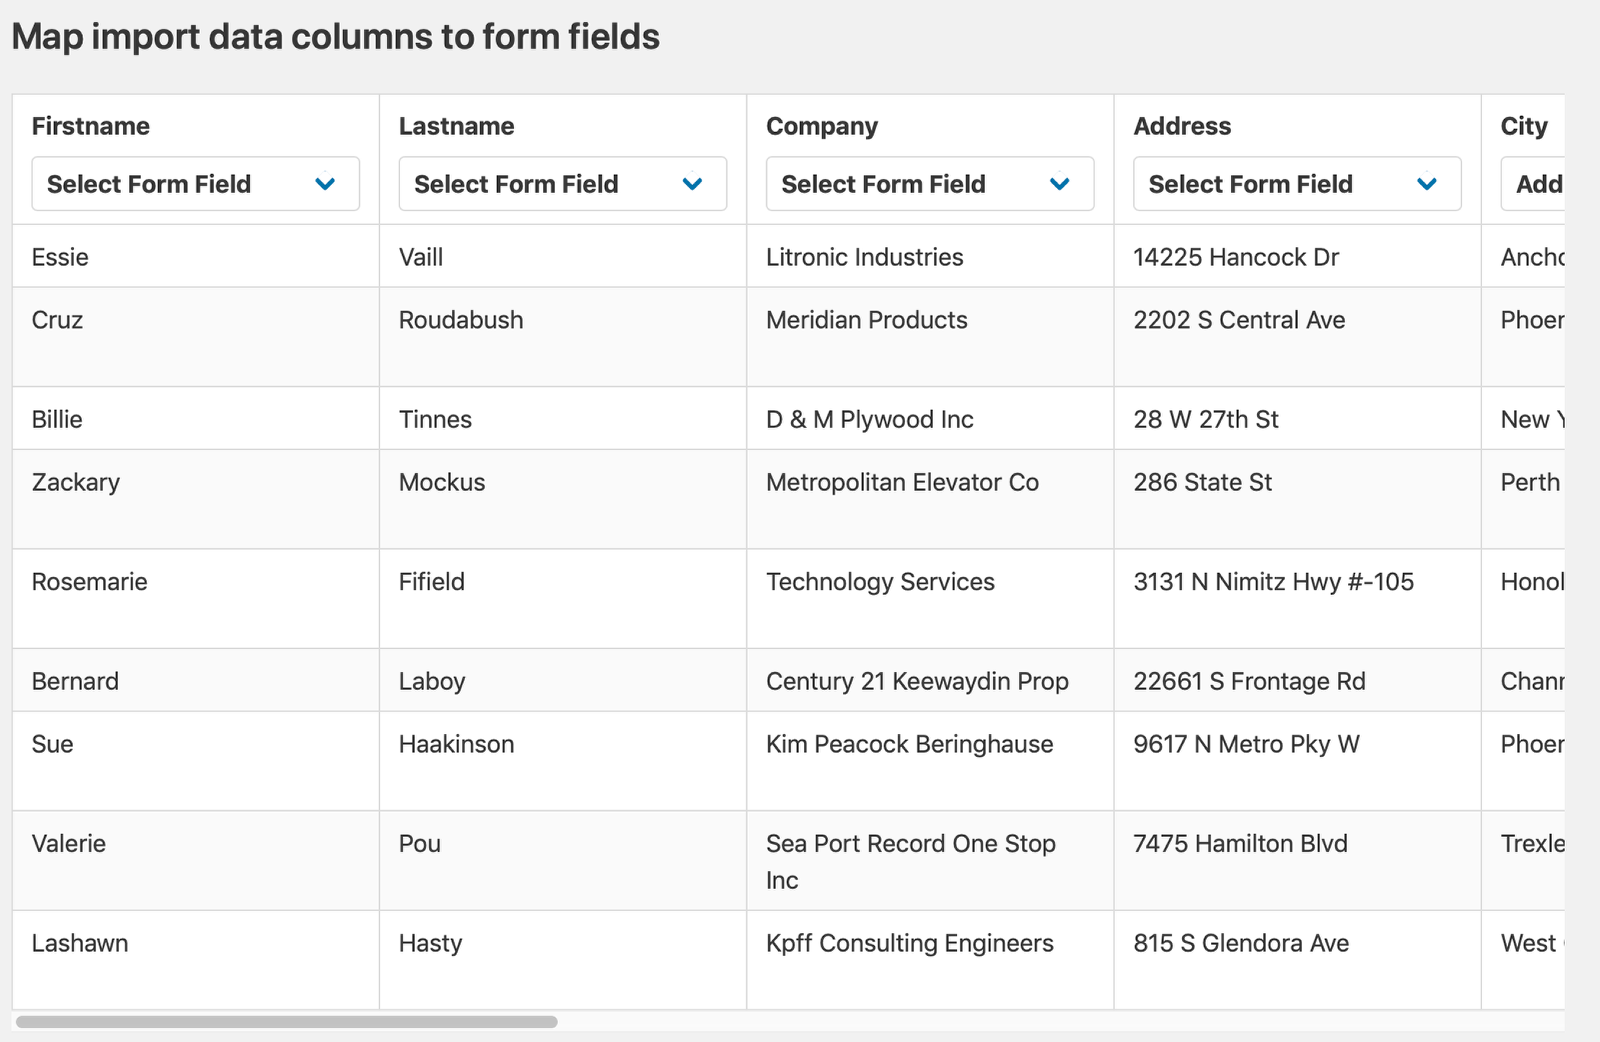
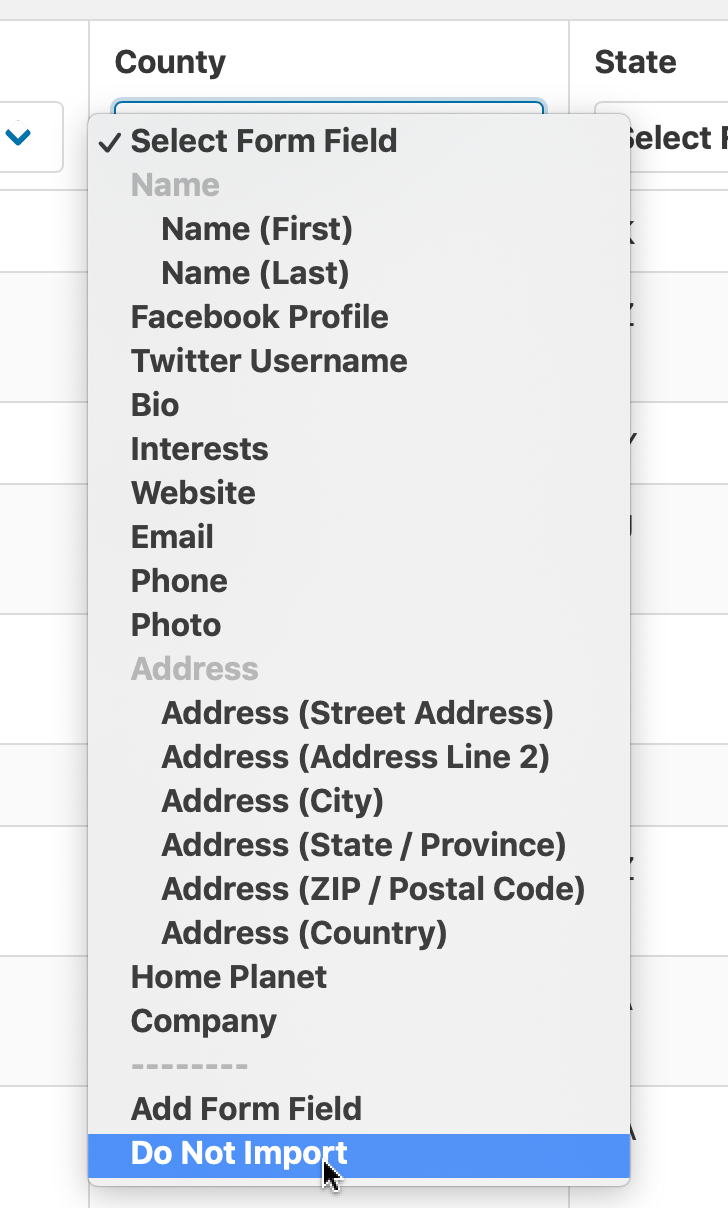
Choose which field the column data should be imported into
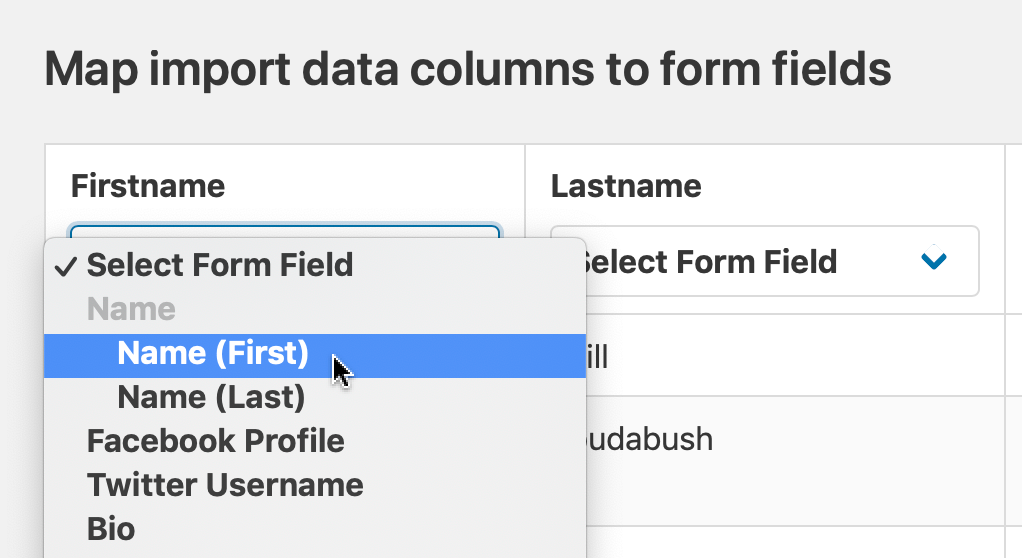
If a field does not exist, you can create one by selecting "Add Form Field"
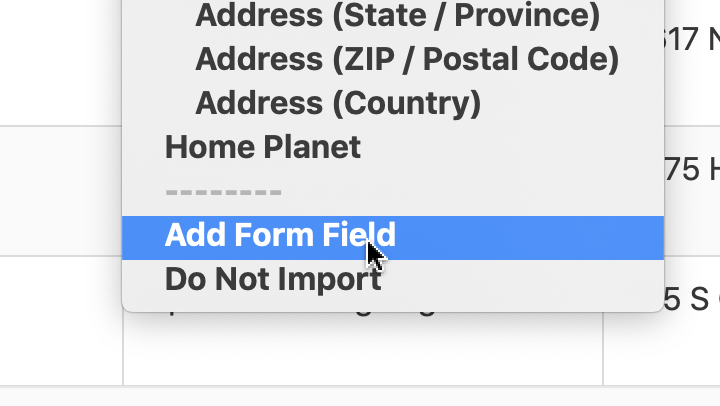
When adding a form field, you will be prompted to define the field label and the type of field

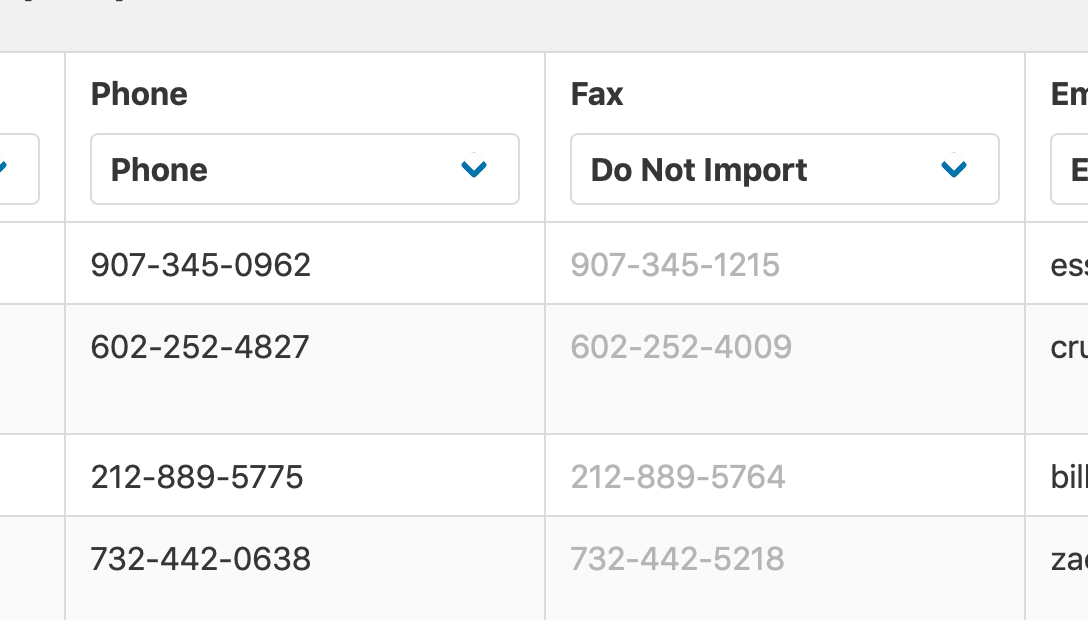
To skip a column and not import it, select "Do Not Import" from the field dropdown
When a column is set to Do Not Import, the data preview will be grayed out.
You can limit what is imported by enabling Conditional Import and defining rules
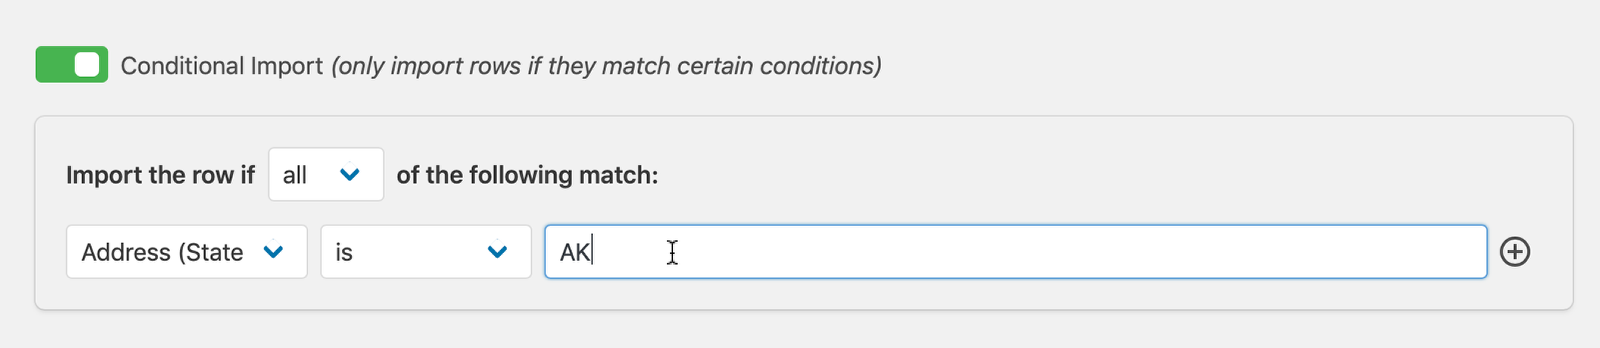
You can add multiple rules at once by clicking the plus button to the right of each rule.
Click Continue With Import to begin the import process

You will see the progress of the import on the screen.

When the import is completed, you can start a new one or view the entries.