_1@2x.png)
If you want to modify how GravityView looks but don't know where to add the CSS code, follow these instructions. WordPress 4.9 added the ability to customize your CSS from inside WordPress itself. Here's how to do it!
Adding custom CSS to your website
New! GravityView 2.19 introduced an easier way to add custom CSS to specific Views on your website by using the View Settings box > Custom Code tab inside the View Editor:

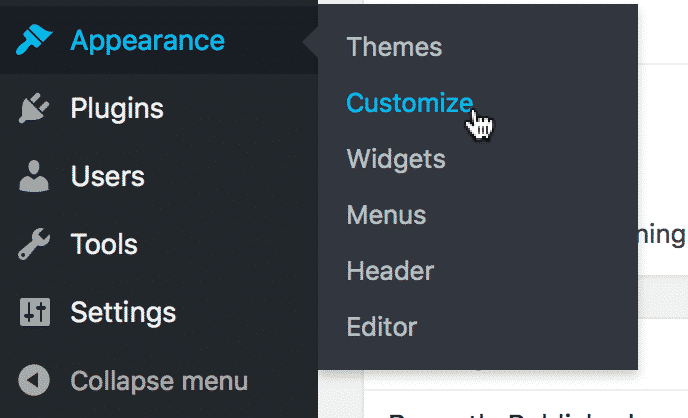
Click on Appearance, then Customize
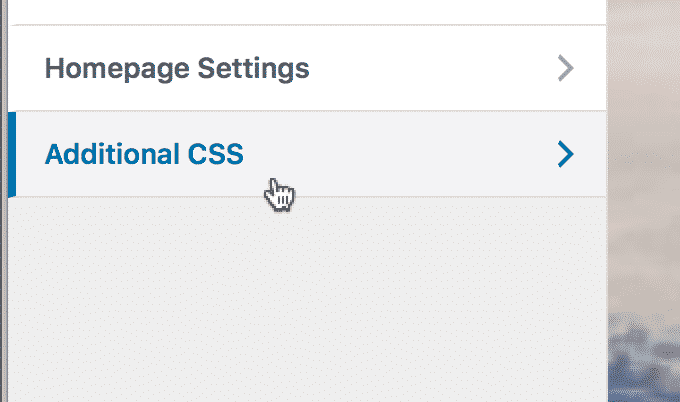
Click the Additional CSS menu item at the bottom of the side menu.
Add your CSS code in the editor and click "Update Custom CSS"
Add your CSS code to the text editor. The CSS you enter will be live-previewed for you.
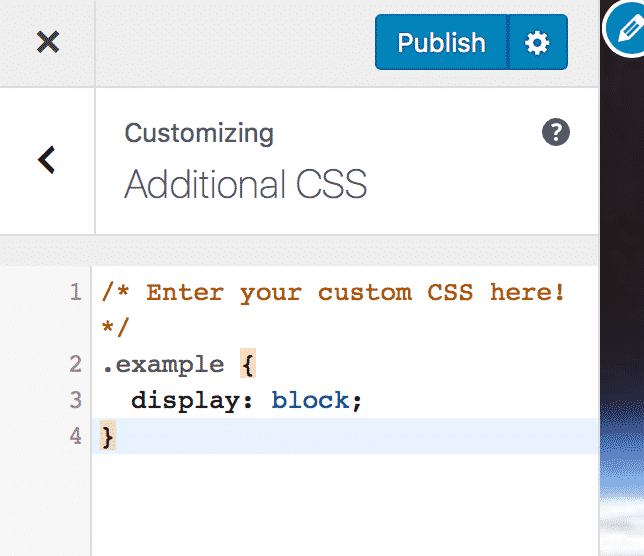
Click the Publish button at the top of the sidebar
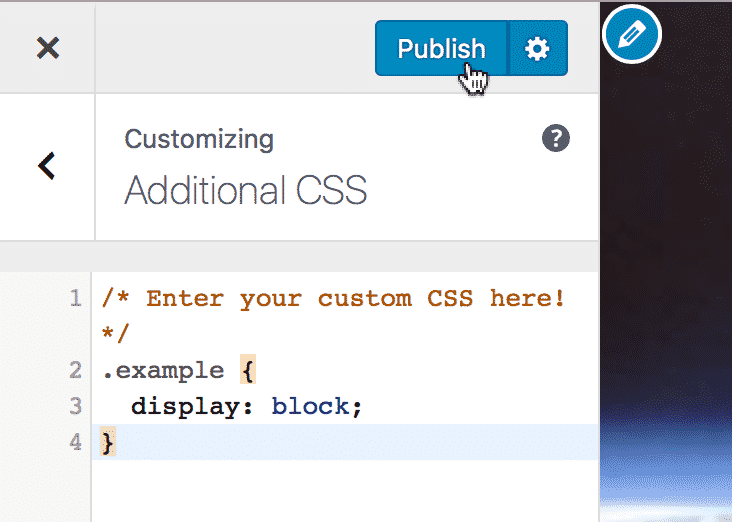
Once you click "Publish", the changes will go live. You can also click the gear icon to save your CSS as a draft or schedule the changes you would like to make.
If you're running a WordPress version lower than 4.9
First: you should update your site! Running the latest WordPress is the best way to prevent your site from being hacked. Now you've been warned :-)
If you're running under WordPress 4.9, follow the steps below: Note: if you already have the
Jetpack plugin enabled, you can use their
Custom CSS module instead.
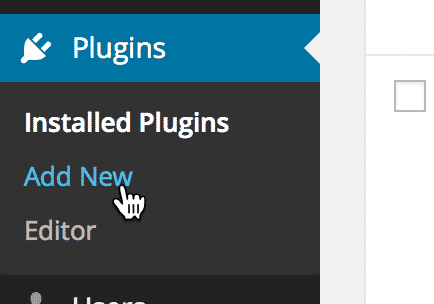
Click on Plugins, then Add New
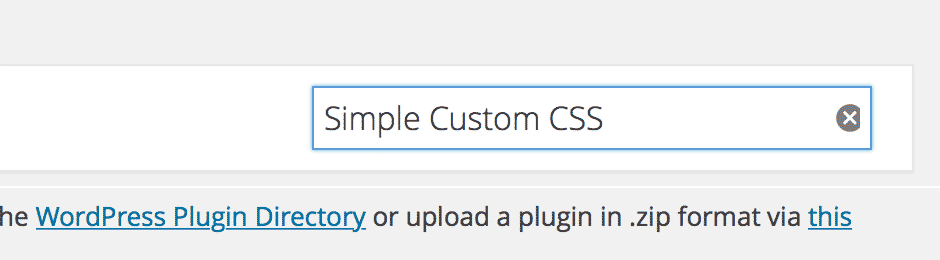
Enter "Simple Custom CSS" into the search field
This is the name of the plugin we're going to use to add custom CSS.
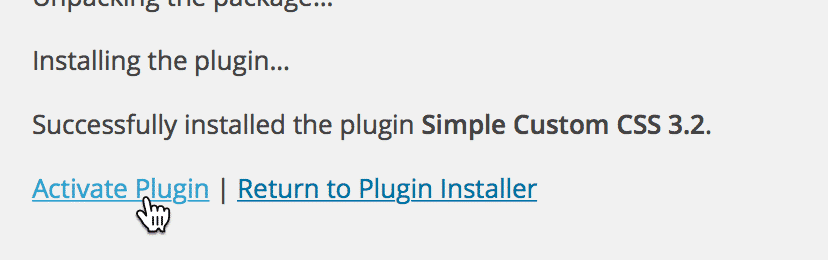
Click the "Install Now" button

Activate the plugin
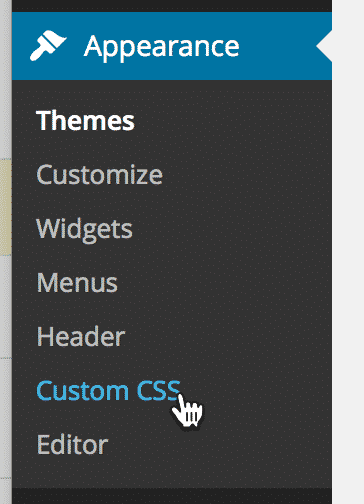
Click on the "Custom CSS" link under Appearance
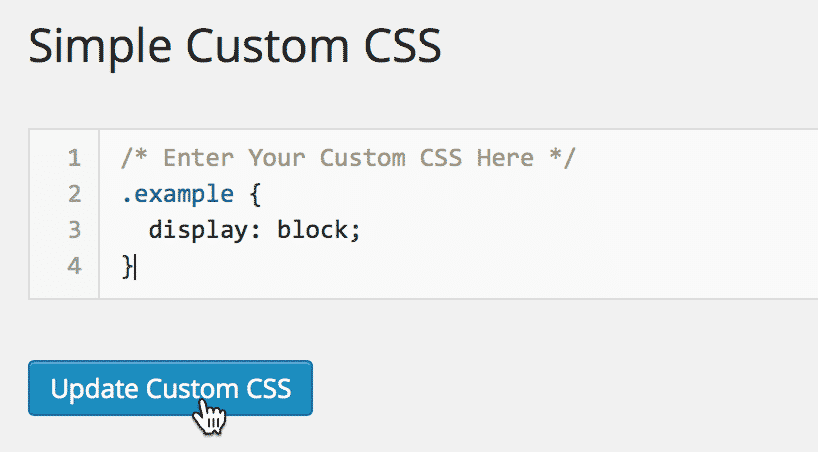
Add your CSS code in the editor and click "Update Custom CSS"
Delete the line that says "/* Enter Your Custom CSS Here */", then add your CSS code in the text editor. Once you're done, click "Update Custom CSS."