_1@2x.png)
Formatting Dates for Gravity Forms in Microsoft Excel
Fixing date formatting in Excel
Gravity Forms fields can be formatted in many ways
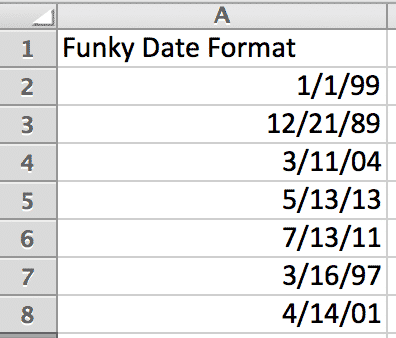
If your current spreadsheet isn't using the currect format, the import may not work. Here's how to fix the formatting in Microsoft Excel.
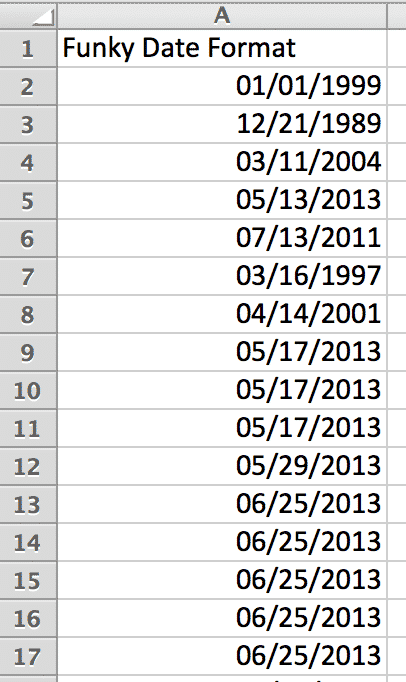
Open your spreadsheet in Microsoft Excel
Note: in this tutorial, we're using Mac Excel 2010 in this example, so your look and feel may be different. The process should remain the same. So is the pain of using Excel!
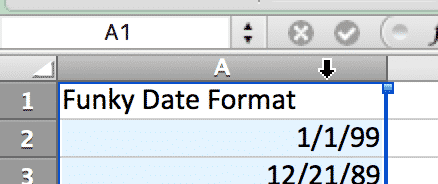
Select the column by clicking on the header
If "Date" doesn't work, select the "Custom…" option next
This will allow us to create our own date format to match the field's date format.
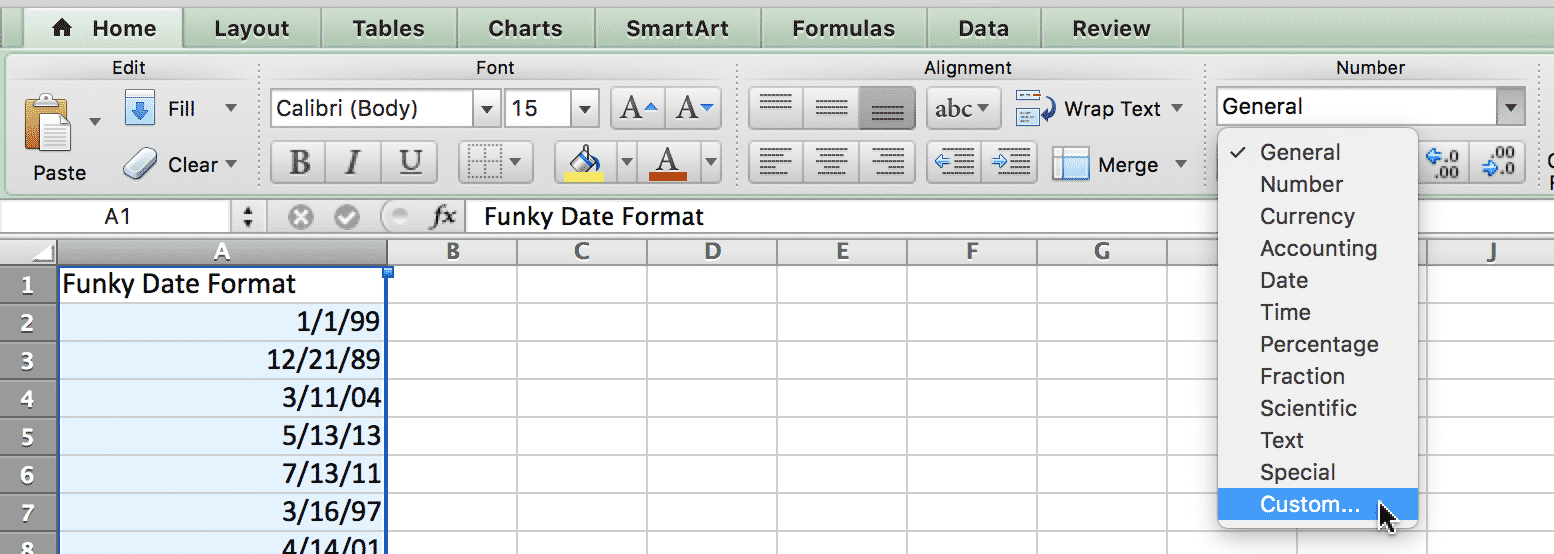
Click on Custom from the "Category" list and define your own date format
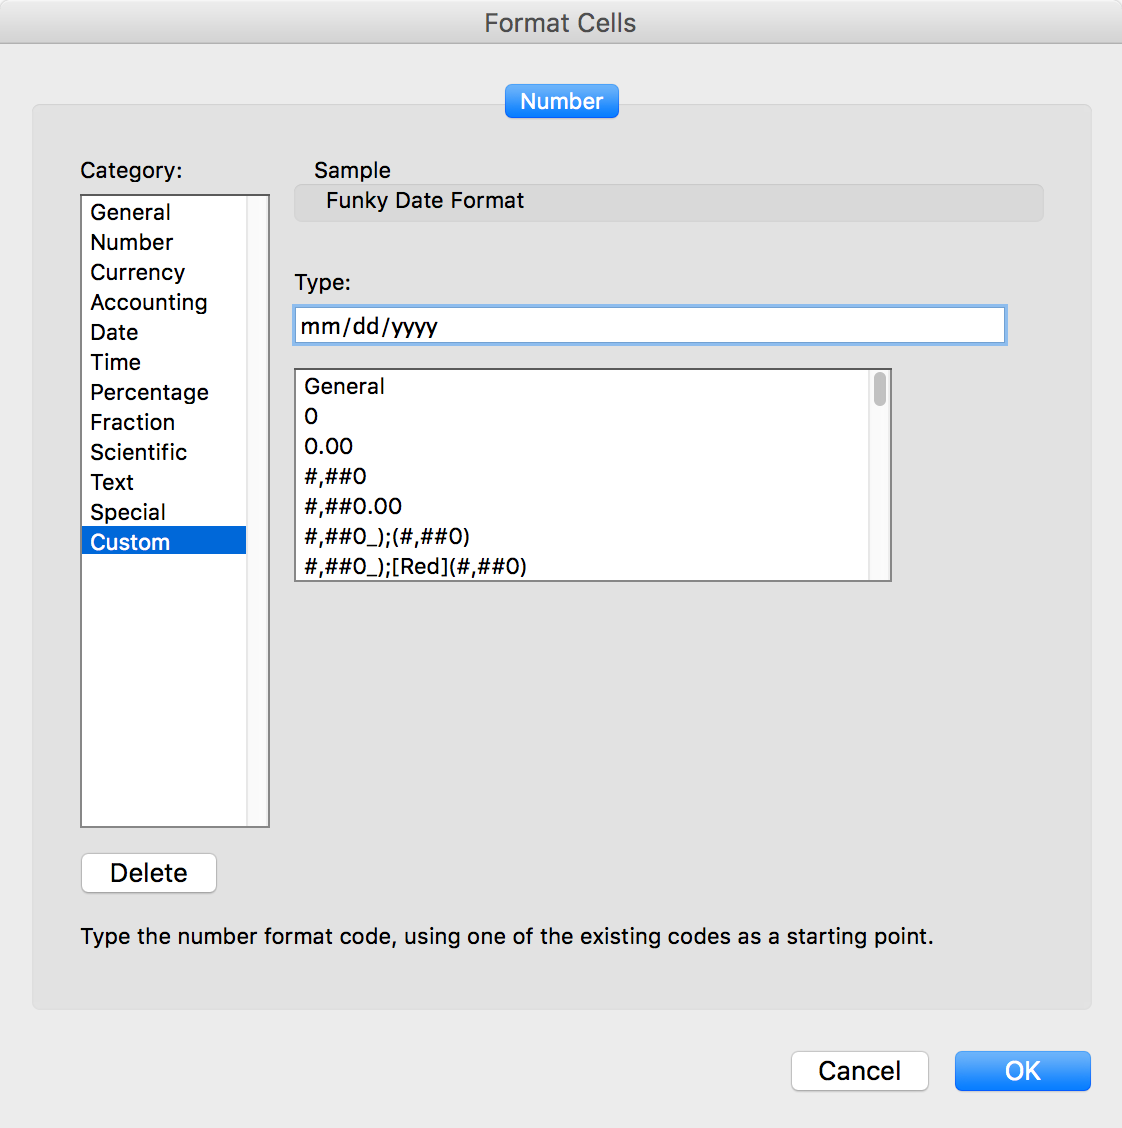
To create a format that will be accepted by Gravity Forms, use the following values:
ddis the day using two digits (01-31)mmis the month using two digits (01-12)yyyyis the year using four digits (2016)
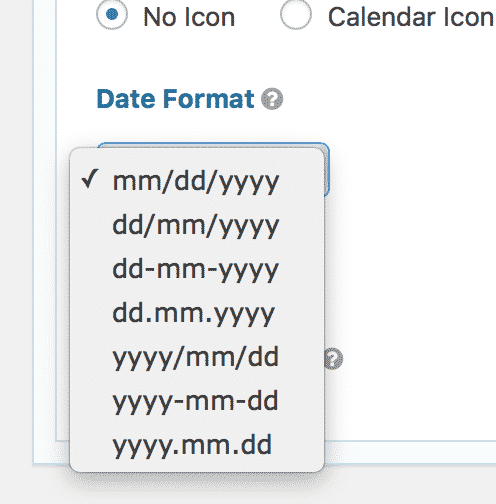
As a reminder, here are the date formats that are used in Gravity Forms. Enter the format you need into the "Type" field:
mm/dd/yyyy(example: 06/18/2016)dd/mm/yyyy(example: 18/06/2016)dd-mm-yyyy(example: 18-06-2016)dd.mm.yyyy(example: 18.06.2016)yyyy/mm/dd(example: 2016/06/18)yyyy-mm-dd(example: 2016-06-18)yyyy.mm.dd(example: 2016-06-18)
Click OK to save the format, and you're done!
🎉 Now that date is formatted the way you need it!
I don't know if dates ever look great (even 08/08/2008, which looked pretty wonderful), but your dates look much better now than they did a few minutes ago.
If you have any questions, please contact our support, and we'll be happy to help.