_1@2x.png)
Configuring the A-Z Filters Widget
In this article, we’ll show you how to get set up with the A-Z Filters extension.
Prefer to Watch the Video?
Installing A-Z Filters
You can install the A-Z Filters extension from inside WordPress. First, hover over "GravityKit" and click "Products & Licenses".

Now scroll down to "A-Z Filters" (under "Extensions") and click "Install Now".

You can now add the A-Z filter to your View layouts.
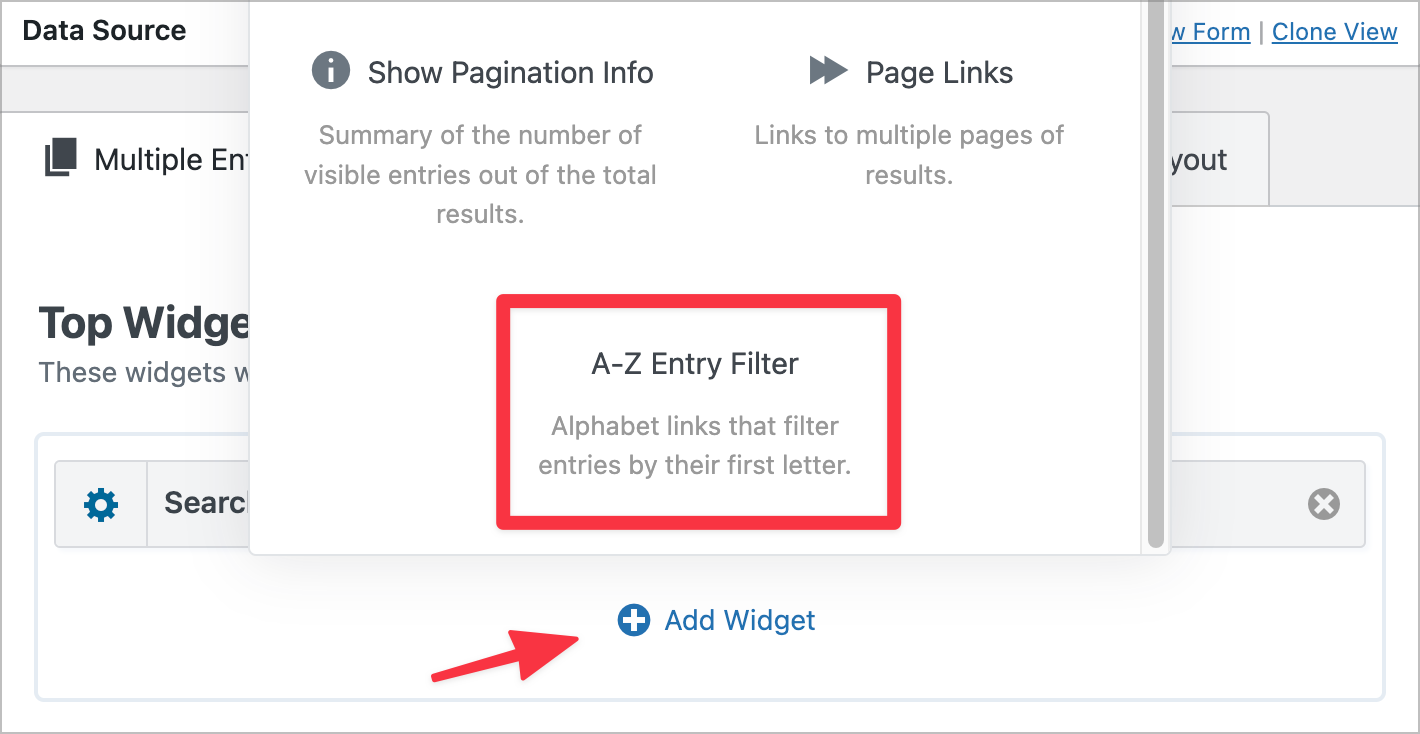
Adding an A-Z Filter to Your View
The A-Z Filter extension adds a new widget to GravityView - the “A-Z Entry Filter” widget. You can add this new widget to your View by clicking on the “Add Widget” button in the top and bottom widget areas.
To change the widget settings, click on the gear icon next to the widget label.
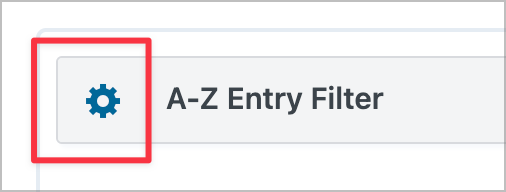
A-Z Filter Widget Settings
When you open up the A-Z Entry Filter Settings, you’ll see three options:
- Use this field to filter entries - Select a field in your View. Entries will be filtered by the first character of this field.
- Alphabet - Select the alphabet that should be used (this will depend on the language of the information in your View).
- Use Uppercase Letters? - Choose whether you want the A-Z filter links to be capitalized or lowercase.

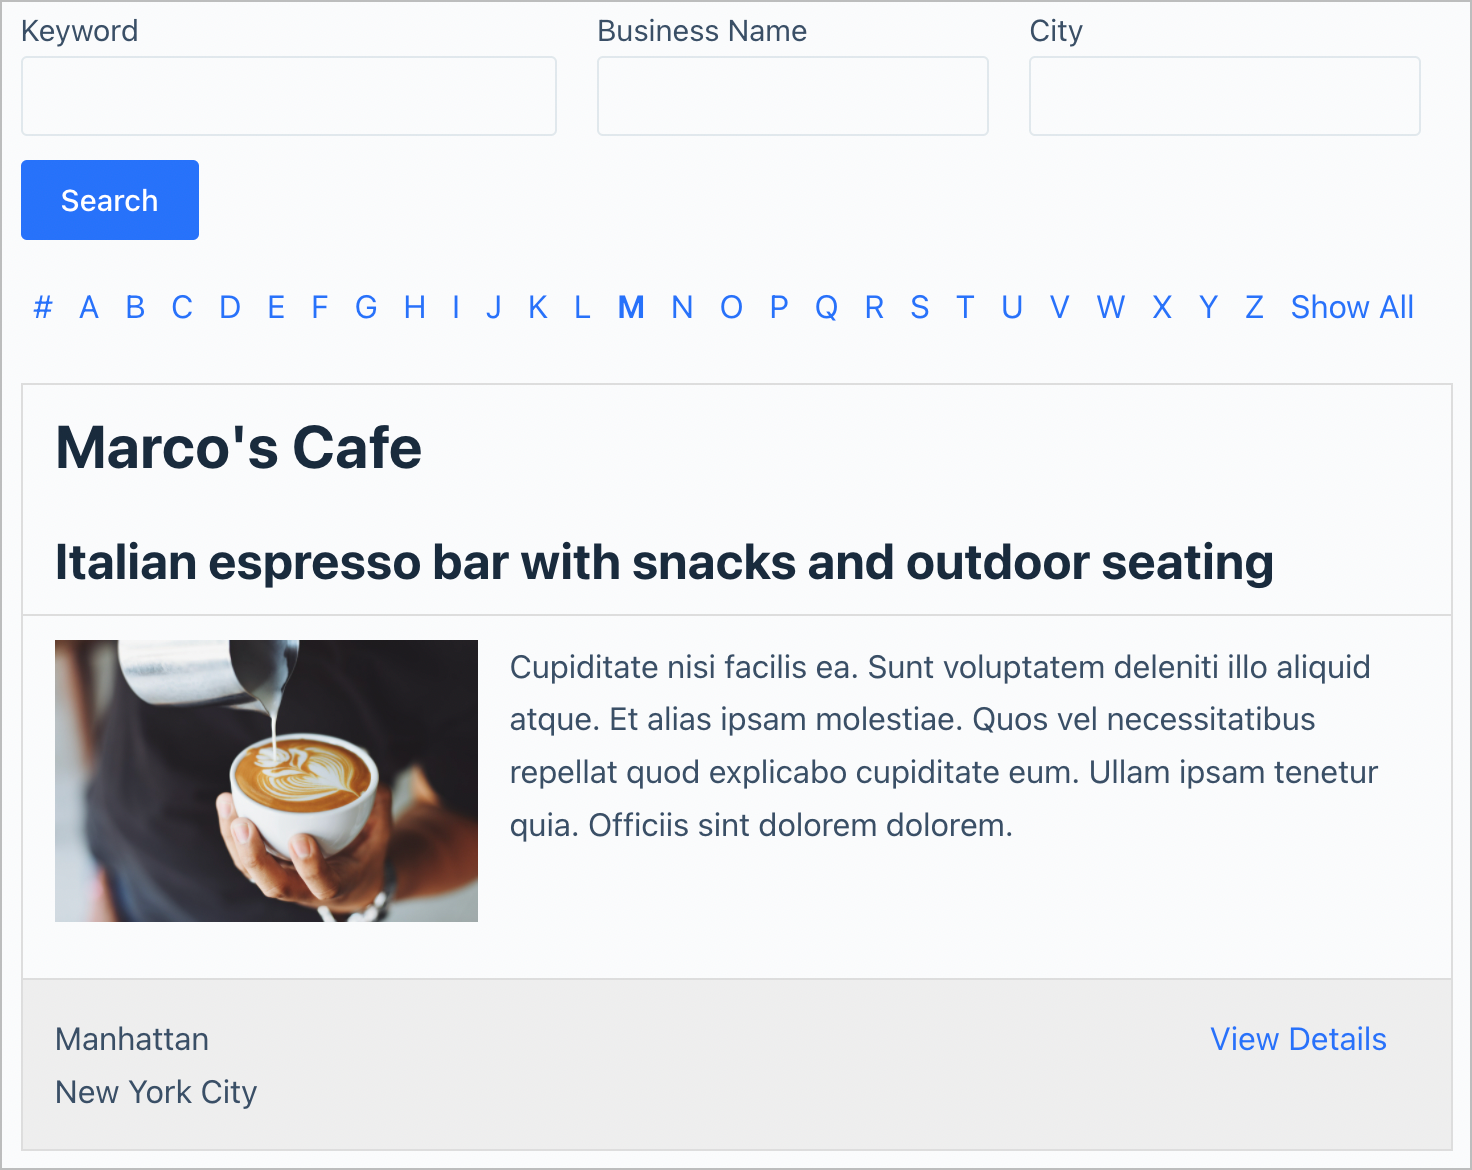
When you’re done, update your View and check it on the front end.
That's it!